WordPress Image Optimization: The Complete Guide (2026)

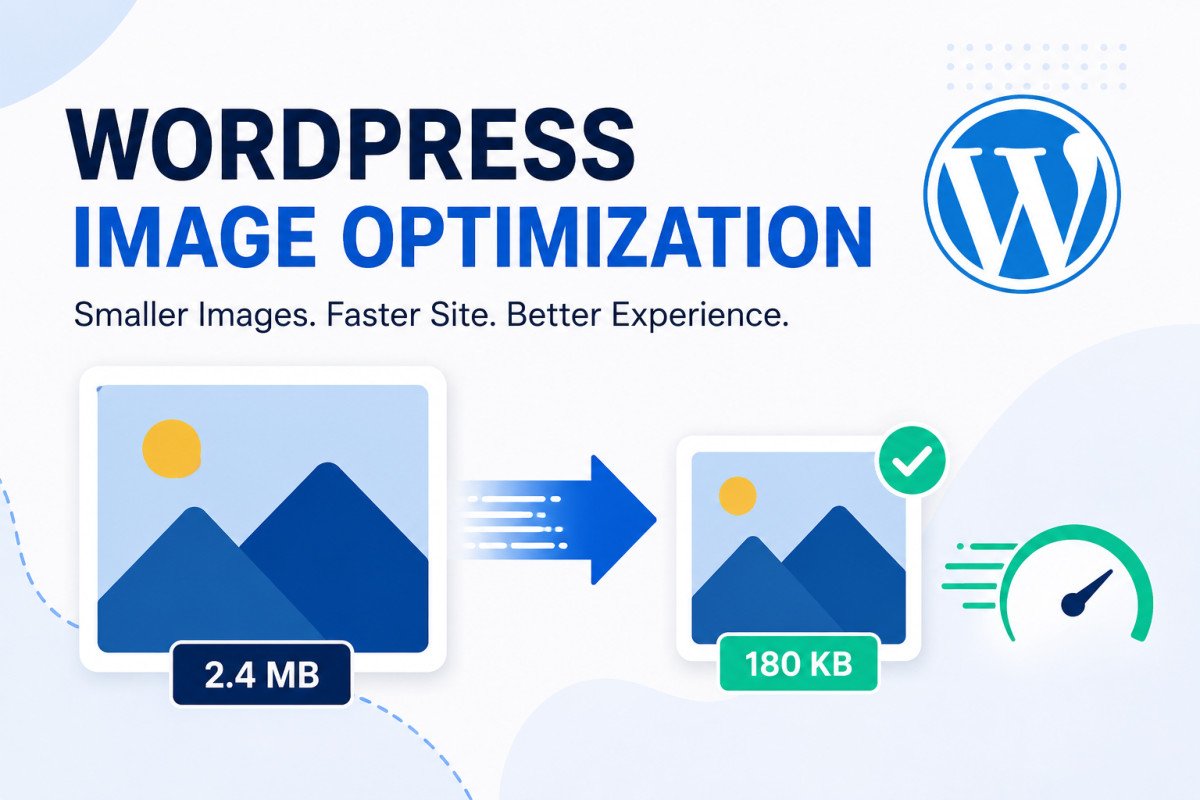
Image optimization means reducing image file sizes without visibly harming quality, resizing before upload, choosing the right format, and running compression through a plugin like ShortPixel, Imagify, or Smush. Images typically make up roughly half of a webpage’s total size, making them one of the highest-leverage places to improve speed. Resize images to match your theme’s actual display width (usually 1200-1800px) before uploading, uploading a 4000px camera photo when it displays at 1200px wastes real bandwidth and can add 2-3 seconds to mobile load time alone.
Before You Start
See our speed optimization guide for the broader picture, images are one major lever among several, this guide goes deep on that specific one.
Your phone’s camera takes genuinely beautiful 4000-pixel-wide photos. Your blog post displays them at maybe 1200 pixels wide. That gap, uploaded straight from your camera roll without a second thought, is quietly one of the most common reasons WordPress sites load slowly, and it’s also one of the easiest problems to fix.
What You’ll Learn
- Why images have such an outsized impact on site speed
- The resize step most beginners skip entirely
- How to choose between WebP, AVIF, and traditional formats
- A hidden bloat problem most image guides never mention
Why Images Matter So Much
Images commonly account for roughly half of a typical webpage’s total data. That makes them one of the single highest-leverage places to improve loading speed, often with a bigger impact than any other individual optimization.
Step 1: Resize Before You Upload
Most WordPress themes display blog images at 1200-1800 pixels wide. Camera phones and stock photo libraries routinely provide files exceeding 4000 pixels. Uploading that oversized file forces the visitor’s browser to scale it down itself, wasting bandwidth and adding real, measurable load time, some testing found this alone can add 2-3 seconds on mobile networks.
Resize your images to match your theme’s actual display width before uploading, not after. This single habit prevents the problem at the source, rather than relying entirely on a plugin to compensate for it later.
Step 2: Choose the Right File Format
- JPEG or WebP for photographs and complex images
- PNG for graphics that need transparency
- SVG for simple logos and icons, since it scales without any quality loss at any size
Step 3: Use a Compression Plugin
| Plugin | Known For | Worth Knowing |
|---|---|---|
| ShortPixel | Top performer in multiple independent 2026 benchmarks, AVIF support | Credit-based pricing model |
| Imagify | Built by the WP Rocket team, genuinely beginner-friendly | “Set and forget” automatic compression |
| Smush | Clean interface, automatic optimization | WebP and CDN features are locked behind a paid tier, worth knowing before assuming the free version covers everything |
| EWWW Image Optimizer | Unlimited local compression, highly customizable | More complex setup, better suited to users comfortable with more settings |
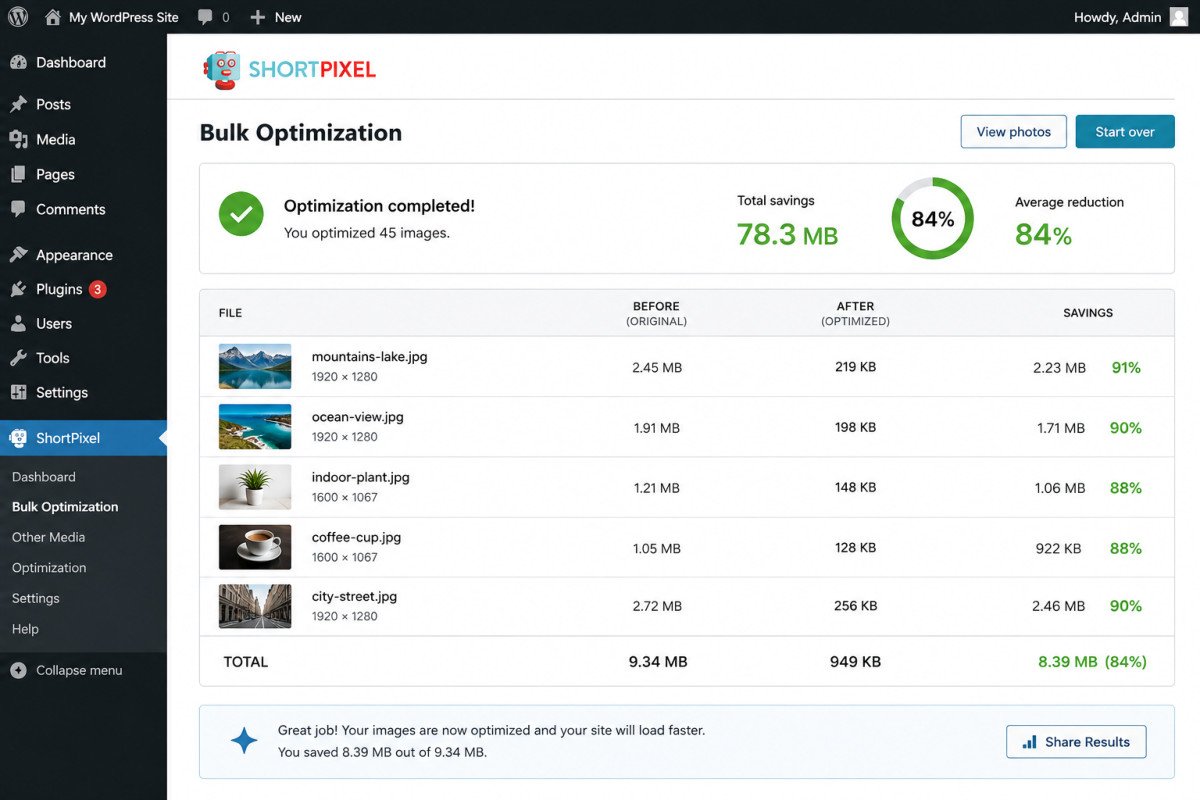
Most of these plugins automatically convert uploads to modern formats and serve the original as a fallback for older browsers, so you get the compression benefit without any real compatibility risk.
WebP and AVIF, Explained Simply
WebP, developed by Google, produces meaningfully smaller files than JPEG or PNG at comparable visual quality, and every major browser supports it, making it the safe default for most sites today. AVIF is newer and compresses even further, with solid support now across Chrome, Firefox, and Safari. Several plugins, including ShortPixel and Imagify, support AVIF without requiring a premium upgrade.
A Hidden Problem: Image Size Variation Bloat
Here’s something most image optimization guides skip entirely: WordPress automatically generates multiple resized versions of every image you upload, for thumbnails, different screen sizes, and theme-specific dimensions. Over time, especially across multiple theme changes, this genuinely adds up, a site with 5,000 uploaded images can accumulate 20,000 or more size variations on the server, roughly a 4:1 ratio. This is a real contributor to storage bloat and, indirectly, backup size, worth periodically reviewing, not just optimizing new uploads going forward.
WebGomu Tip: Before running a bulk compression plugin across your entire existing media library, resize your most-viewed images manually first, your homepage hero image and top blog post headers specifically. These get disproportionate traffic, and getting them right individually matters more than blanket bulk processing.
Common Mistakes
- Uploading images straight from a camera or phone without resizing to your theme’s actual display width first.
- Assuming a free-tier compression plugin includes WebP or CDN delivery, several reserve these for paid tiers.
- Compressing so aggressively that image quality visibly suffers, defeating the purpose.
- Never addressing the accumulated size-variation bloat from years of uploads and theme changes.
Recommended Tools
- ShortPixel — consistently the top performer across independent 2026 benchmarks
- Imagify — the simplest, most beginner-friendly “set and forget” option
Key Takeaways
- Images typically make up roughly half of a webpage’s total size, a genuinely high-leverage place to optimize.
- Resize images to your theme’s actual display width before uploading, not after.
- WebP is the safe modern default; AVIF offers even better compression with growing browser support.
- Accumulated image size variations can quietly bloat your media library over years of uploads, worth a periodic review.
Frequently Asked Questions
How much of a webpage’s size is typically images?
Roughly half, on average, making image optimization one of the highest-leverage ways to improve page loading speed.
Should I use WebP or AVIF for my WordPress images?
WebP is the safe default with universal browser support. AVIF offers even better compression and now has solid support across major browsers, several plugins support both without requiring a premium upgrade.
Do I need to resize images before uploading if I use a compression plugin?
Yes, ideally. Resizing to your theme’s actual display width before uploading prevents the browser from wastefully scaling down an oversized file, a compression plugin alone doesn’t fully solve this.
Why does my media library take up so much storage?
WordPress automatically generates multiple resized versions of every uploaded image. Over time and across theme changes, this can accumulate into significantly more files than originally uploaded, a real, often-overlooked source of storage bloat.
Is Smush’s free version good enough for image optimization?
It covers basic automatic optimization, but WebP conversion and CDN delivery are reserved for the paid tier, worth confirming before assuming the free version covers everything you need.
Resources Links
Author:

Christoper Enolpe
Founder of WebGomu • WordPress Freelancer with 10+ Years of Experience
Christoper is the founder of WebGomu and a WordPress freelancer with over 10 years of hands-on experience building, optimizing, and maintaining WordPress websites. He writes practical, beginner-friendly guides based on real-world experience, covering WordPress, SEO, website performance, and AI tools to help readers build better websites with confidence.
Learn more: https://webgomu.com/about/
Get one WordPress tip every week
Start Here
The Ultimate Beginner’s Guide to WordPress (2026): Build Your First Website Without Coding
Popular Guides
Our Partner

More from the blog
The Ultimate WordPress Speed Optimization Guide (2026)
The Ultimate WordPress Security Guide (2026)